Floral Pattern: From Sketch to Final
Today I thought I’d share with you the process I went through to create a floral pattern, inspired by springtime in Japan.
I think it’s always fun to see how a pattern went from inspiration to final product, so here we go!
Inspiration
I thought a lot about Japan in spring and just let my imagination go wild. I created an inspiration board with flowers, colors and words that fit with my overall idea for the pattern.
Lilypads
Cherry Blossoms
New Life
Pussy Willows
Soft Pink
Blooms
Light Green & Gold
Sketches
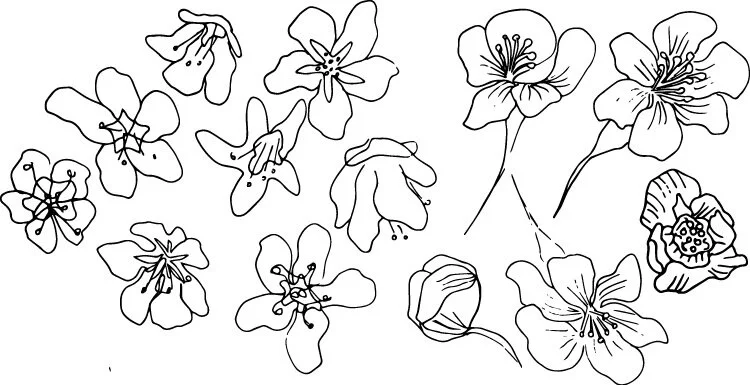
Here are some of my floral sketches. When I first started sketching floral motifs I was pretty gestural with my drawings. I quickly learned that it would be easier to color them, and use them in my patterns, if I was deliberate about my lines and closed the loop on a petal or a leaf.
Redraw and fill
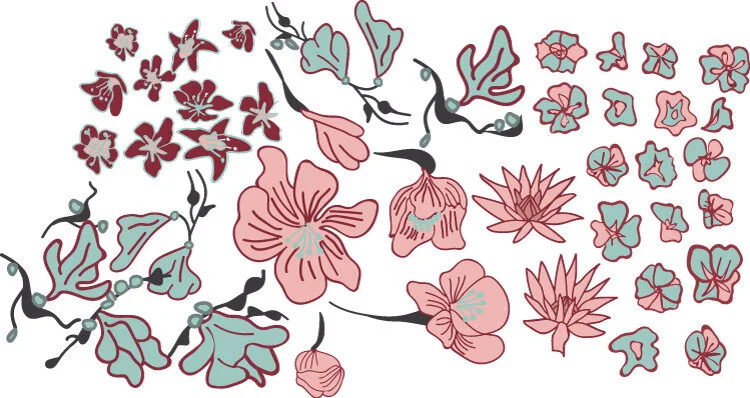
After I uploaded the sketch pages to Illustrator I used the blob brush tool to draw over the sketches. Then I used the smooth tool to fix my lines. Once the motifs looked the way I wanted them to, I used the live paint bucket tool to fill them in.
Layout
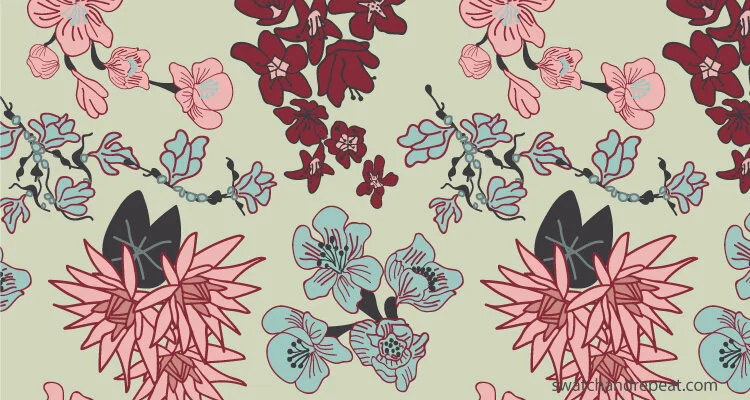
Finally, I started moving the motifs around, copying them, reflecting them, adding a little something here, a little something there, to arrive at this first layout.
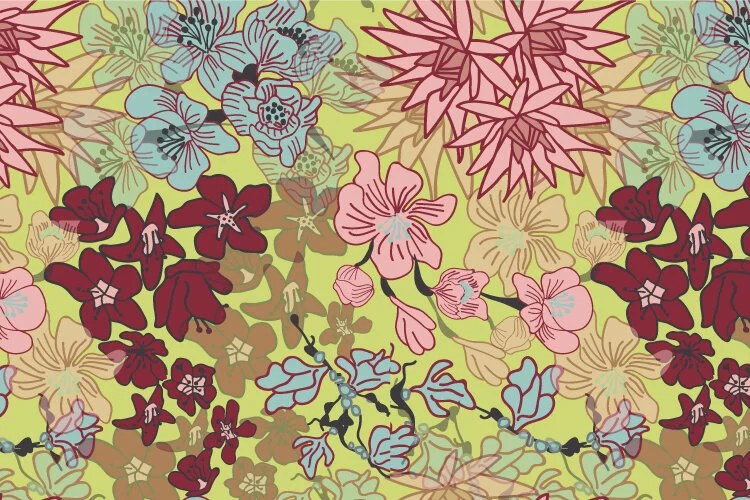
Transparency
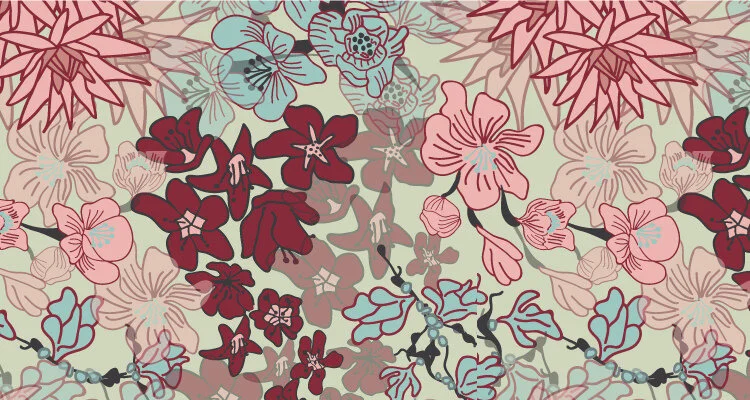
Next, I started playing around with transparency (this has become one of my ‘go to’ things) and arrived at this final composition.
Final Color
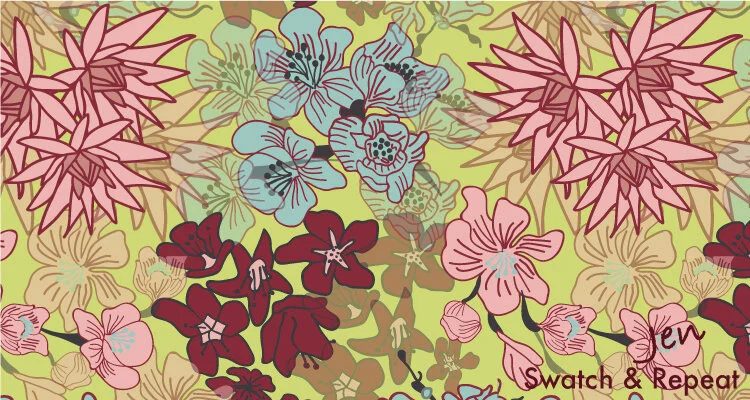
And last but not least, I played around with the recolor artwork tool (LOVE) and came up with a color palette I like. Learn more about how I choose colors here.
What does your pattern design process look like? Any cool tips?